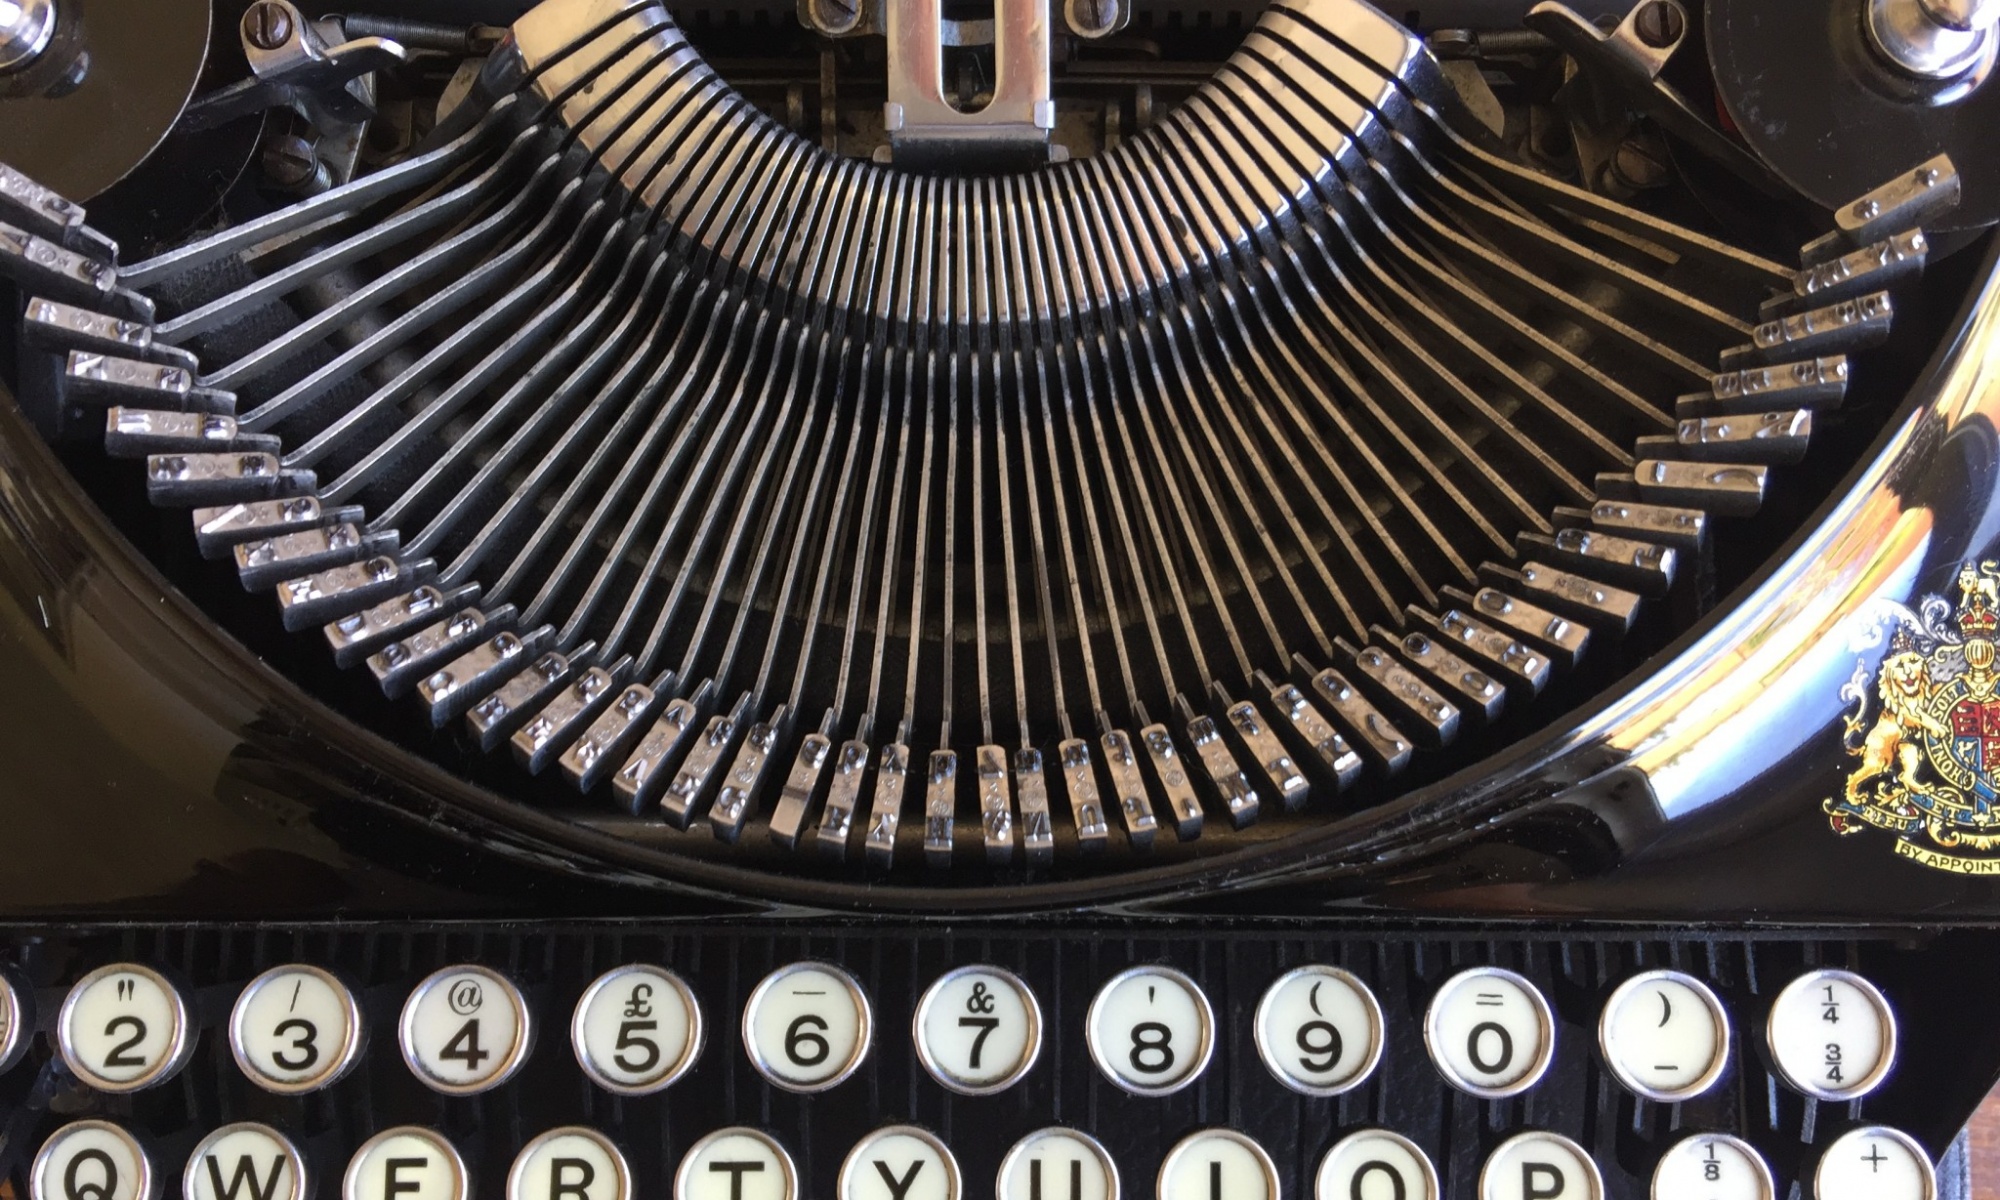
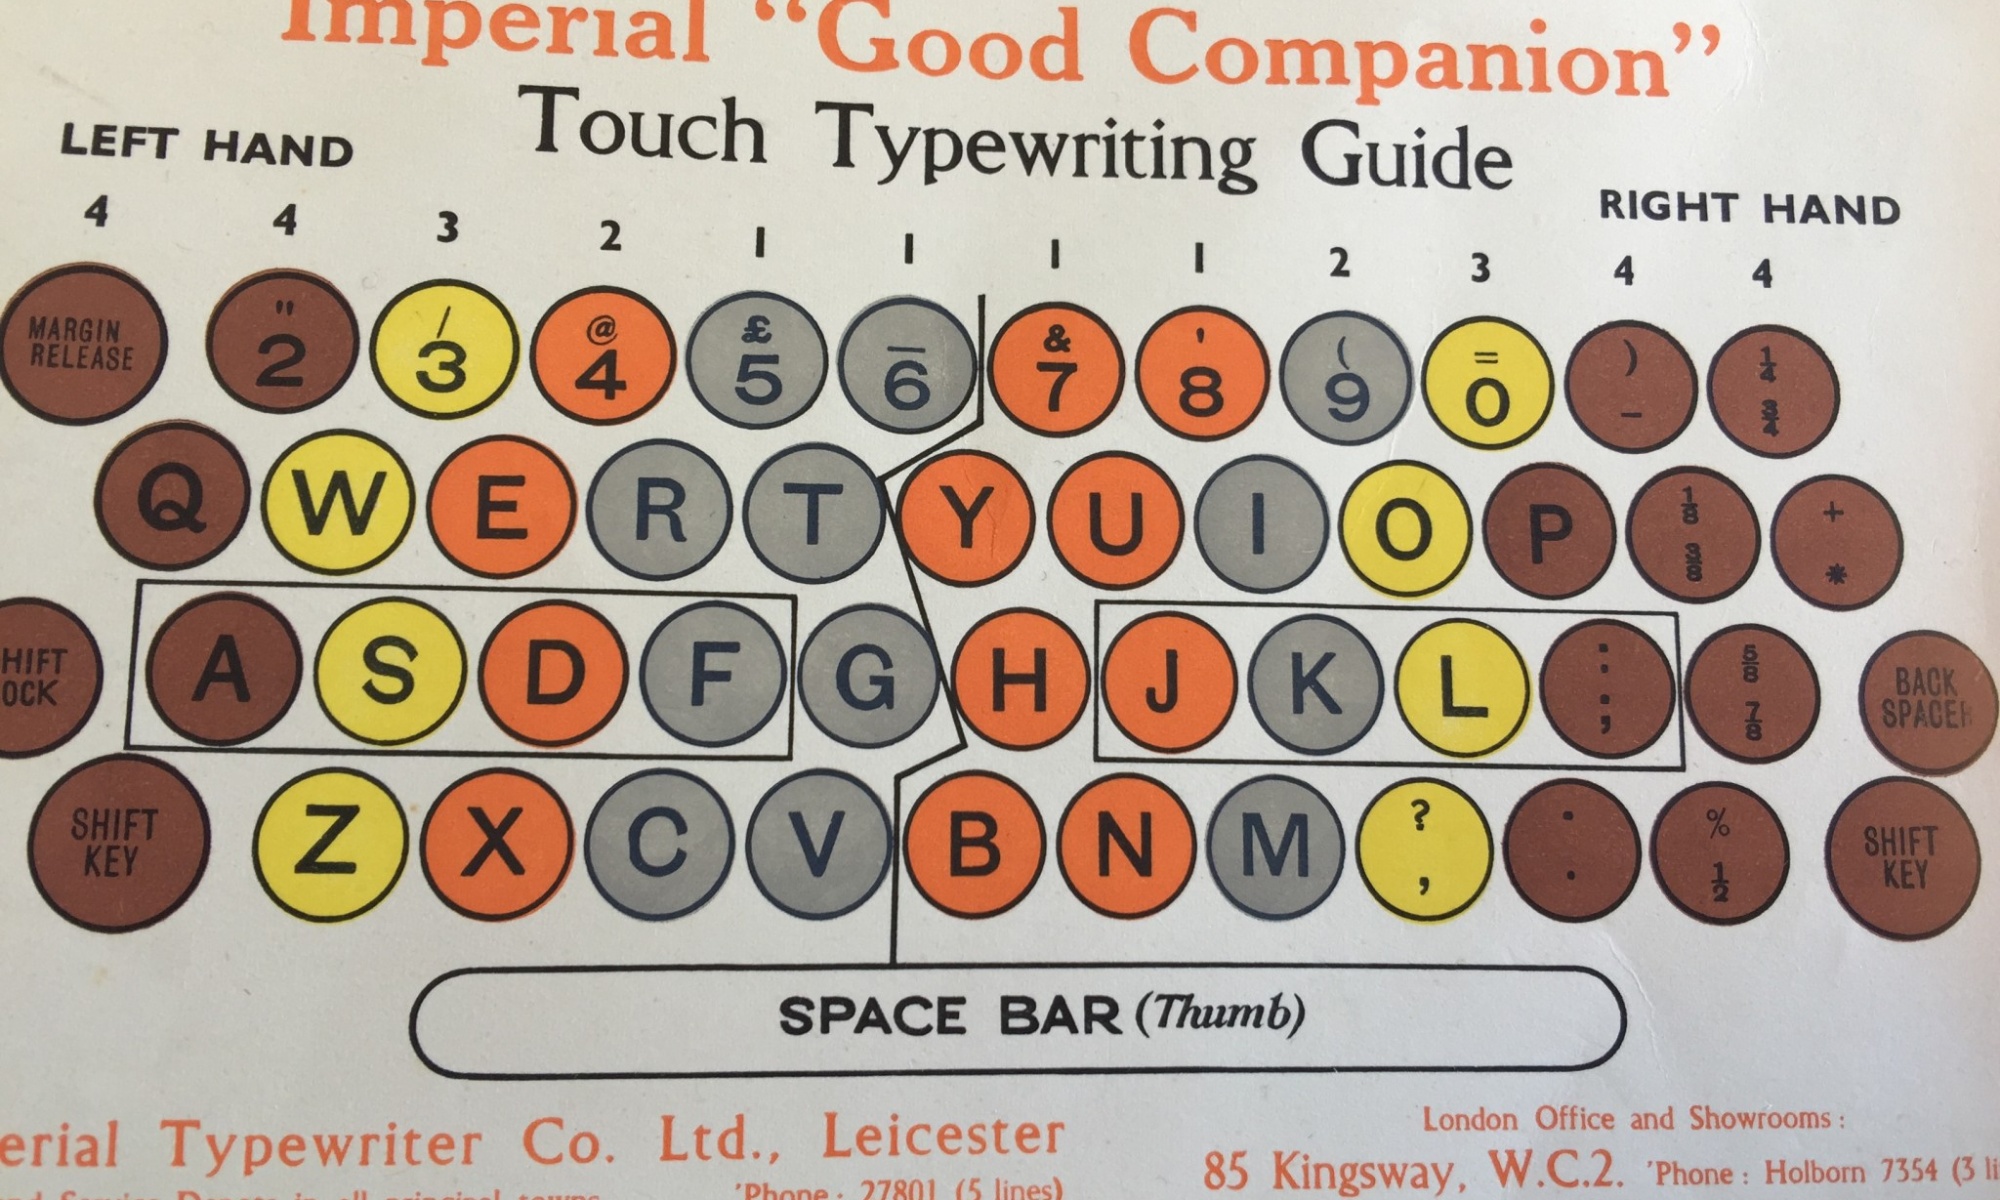
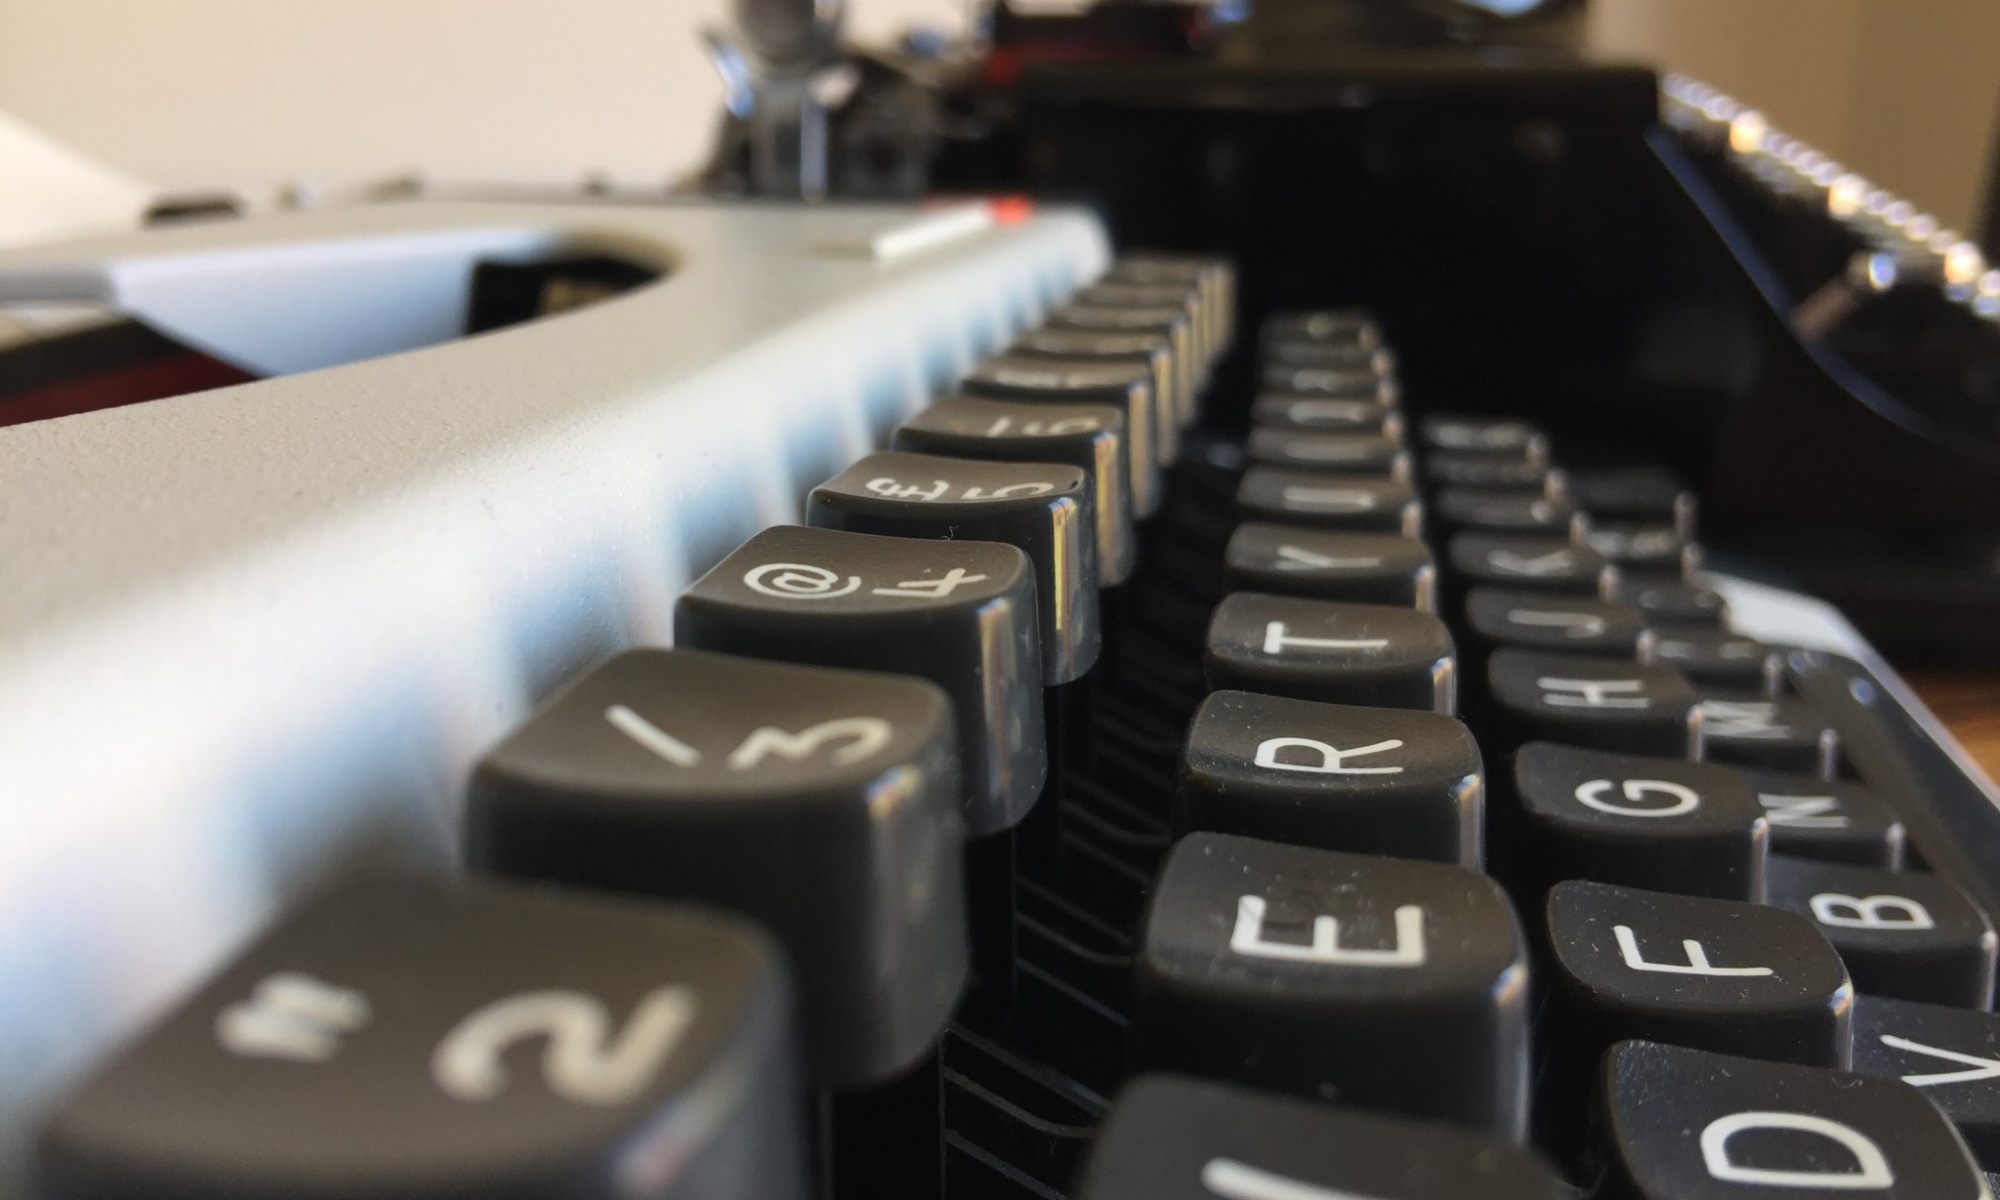
The basics – Typewriter ribbons have ink applied to them. As a Typewriter “letter hammer “hits the ribbon and a letter is formed onto your paper. Manual Typewriters move the ribbon along one letter space after each keystroke.
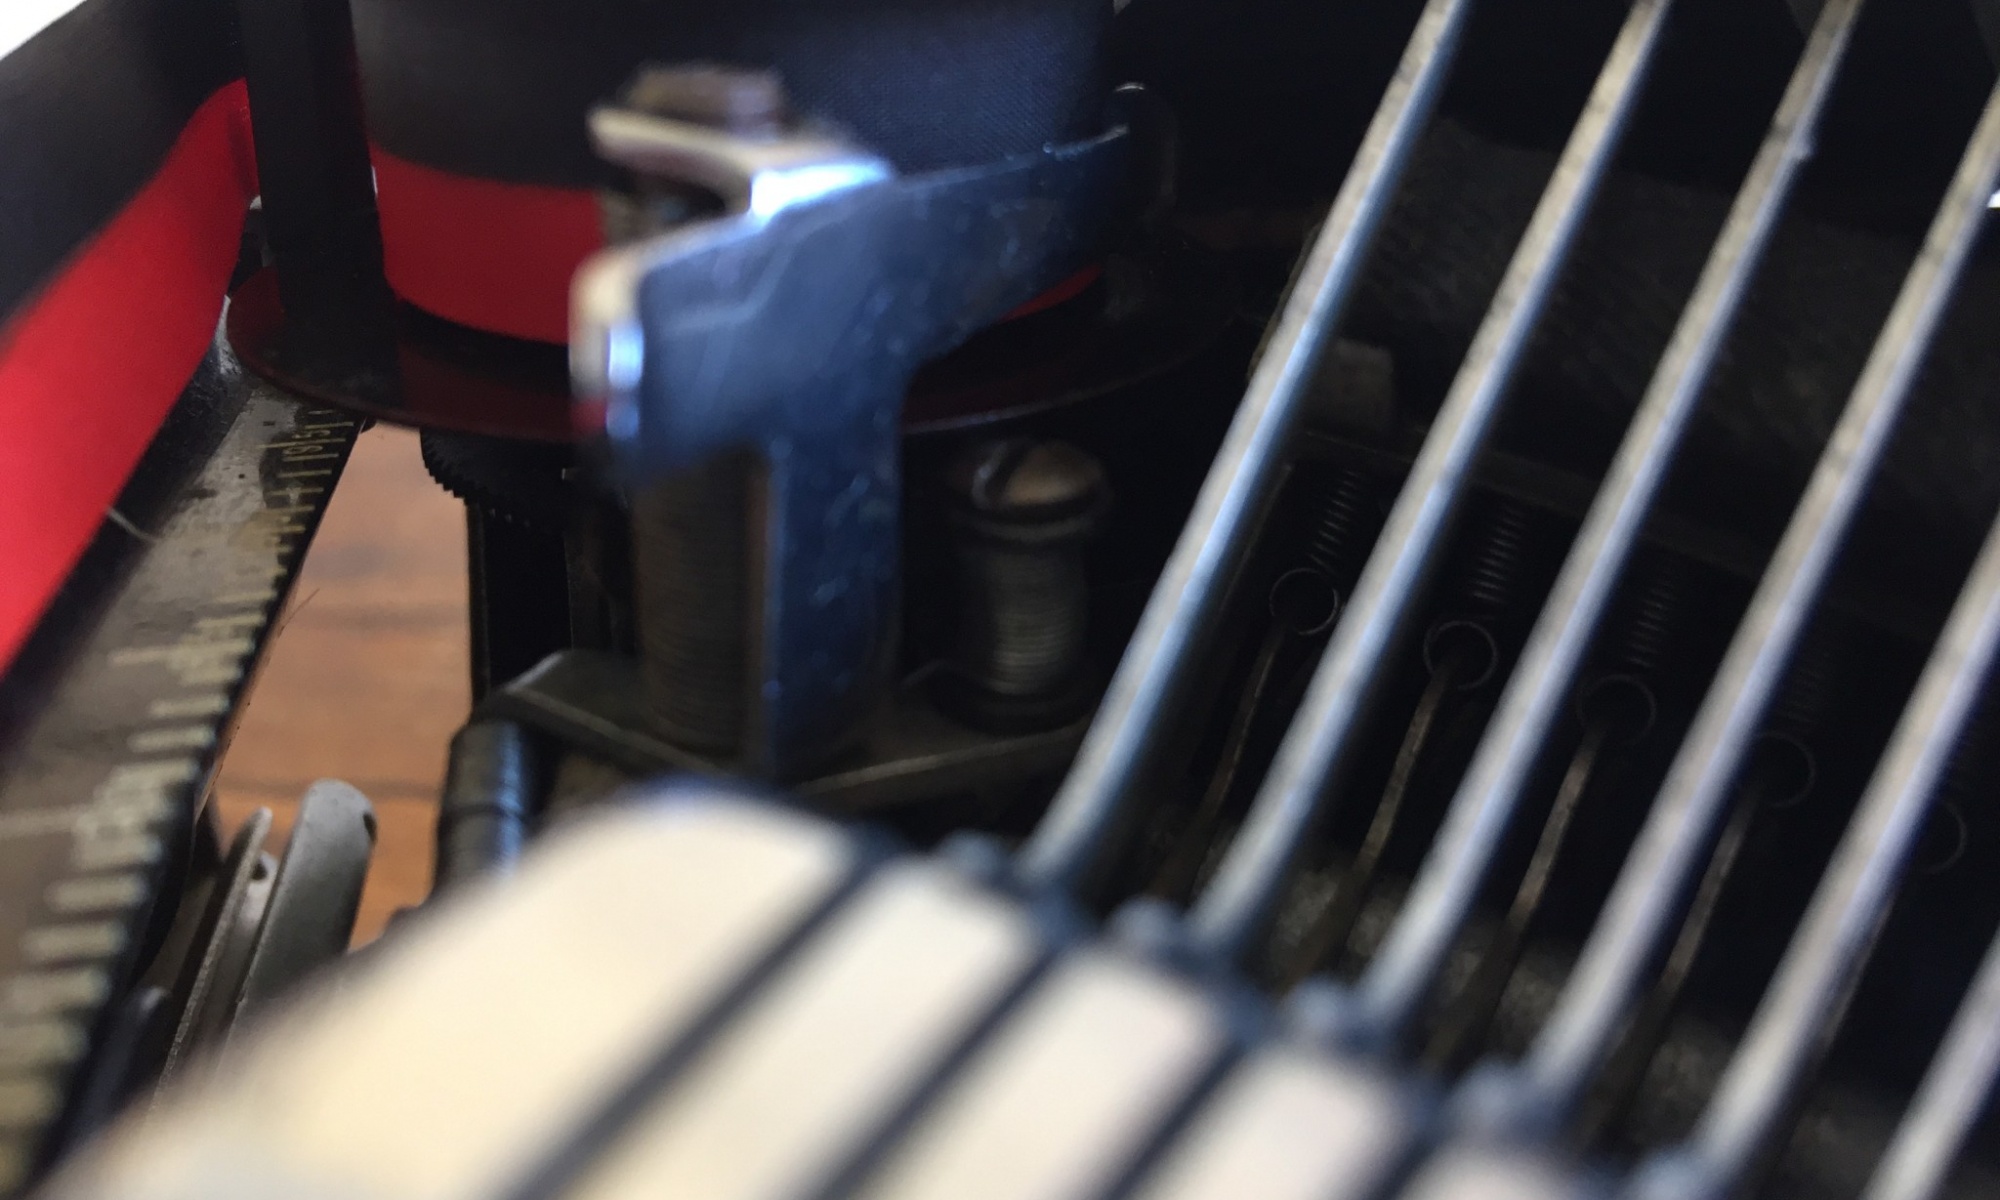
Ribbons are fed from one spool to another and when the feeder spool becomes empty, the Typewriter automatically changes the direction of the ribbon feed.
Thus, you will type using the same section of ribbon a number of times before you notice your type becoming “light” and it is time to change the ribbon.
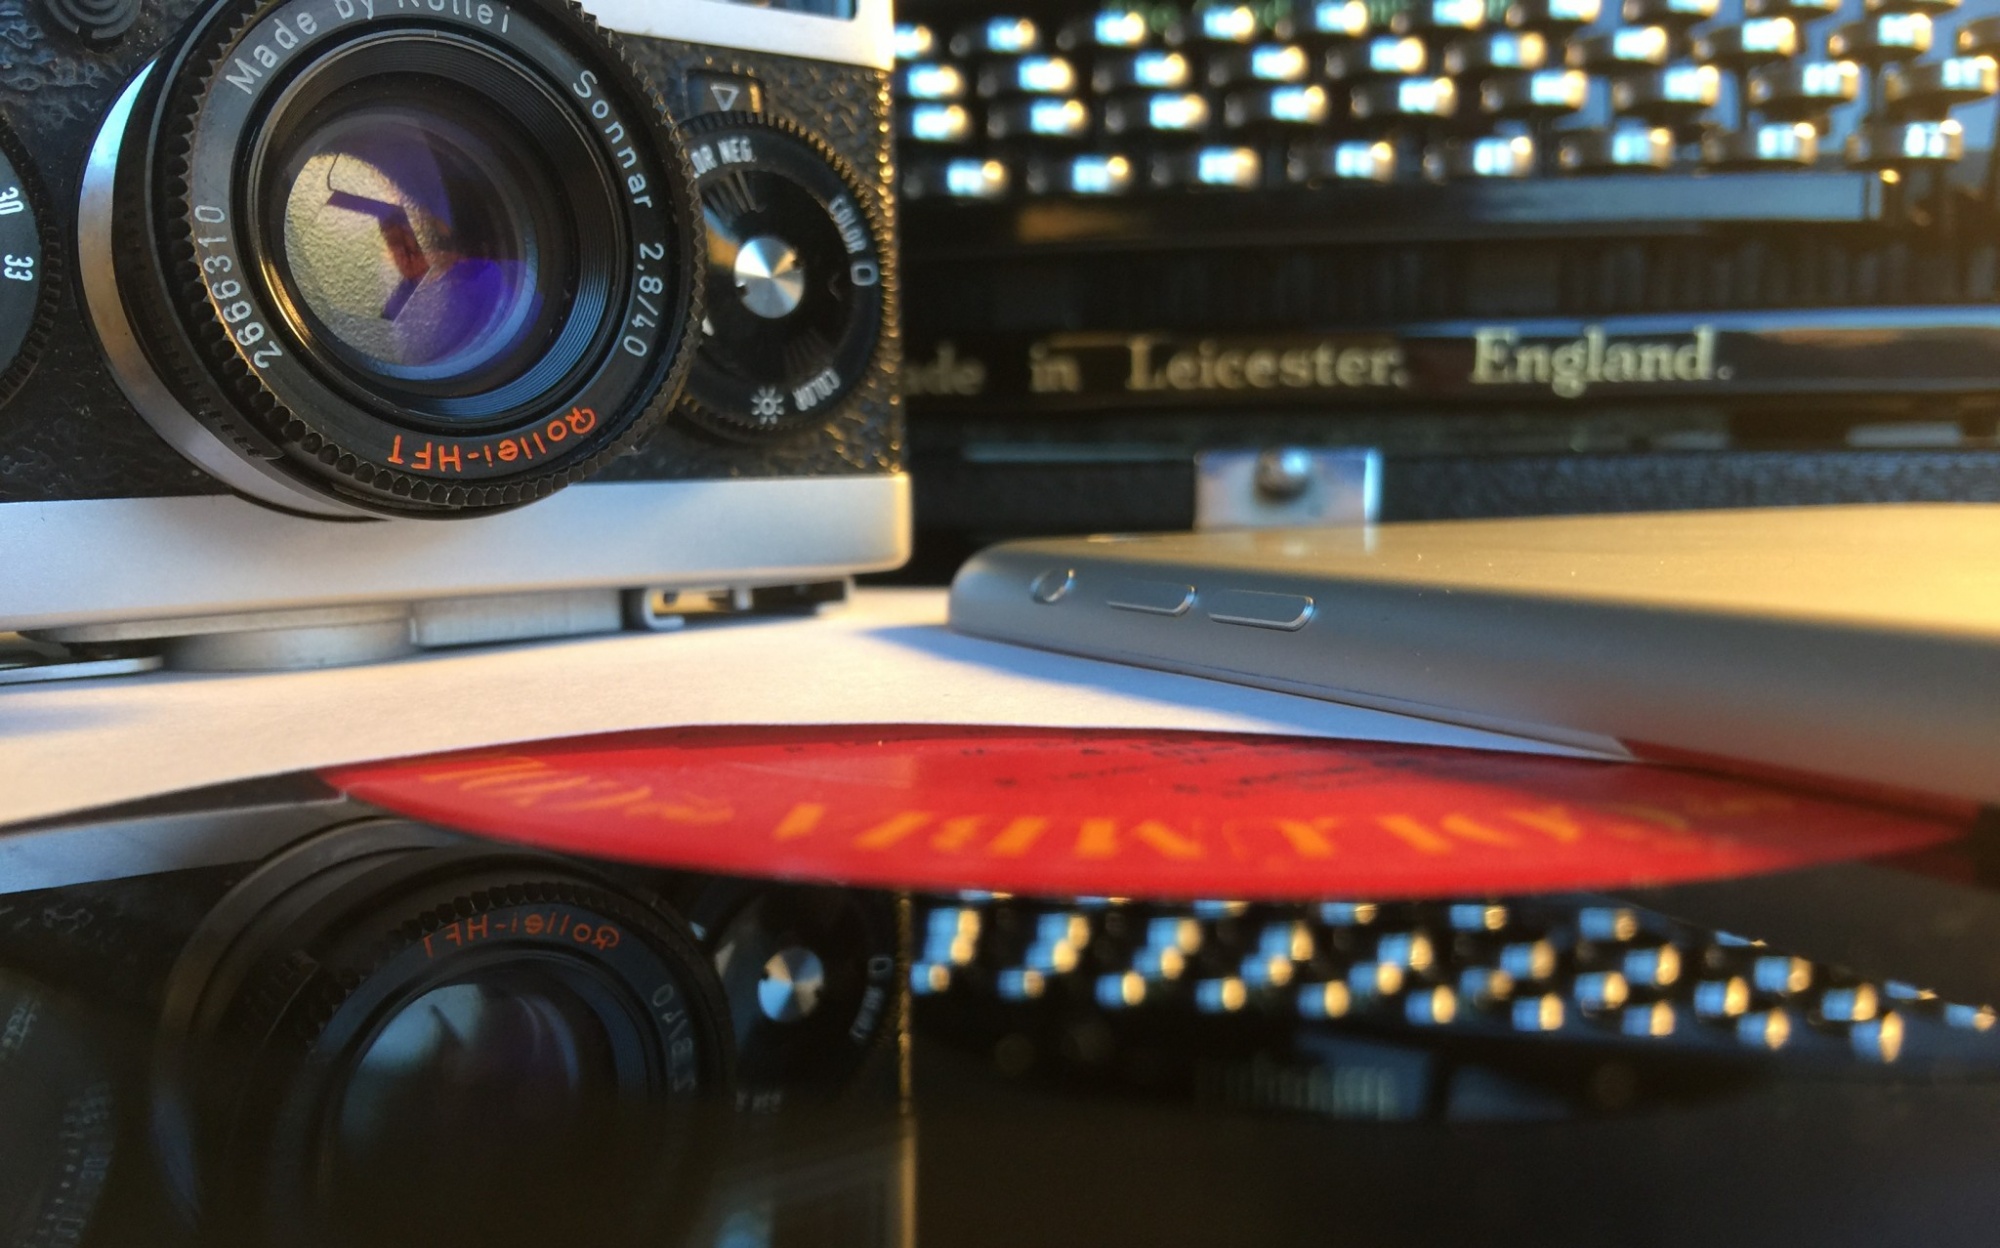
Note that many Typewriters have a black and red type setting switch. This means that if your ribbon is black and red striped, the switch will direct your letter hammer to your desired colour depending on how you have set the switch.
If you are using a single colour ribbon, you have the option to double the life of your ribbon by typing on the black setting until the type is light and then switching to the red setting for continued typing at the ribbon colour. The common ribbon colours are black/red or black, although other colours do exist.
Obtaining the correct new ribbon for your Typewriter and installing can be tricky, but don’t despair, once you do it successfully, future changes will be easy!
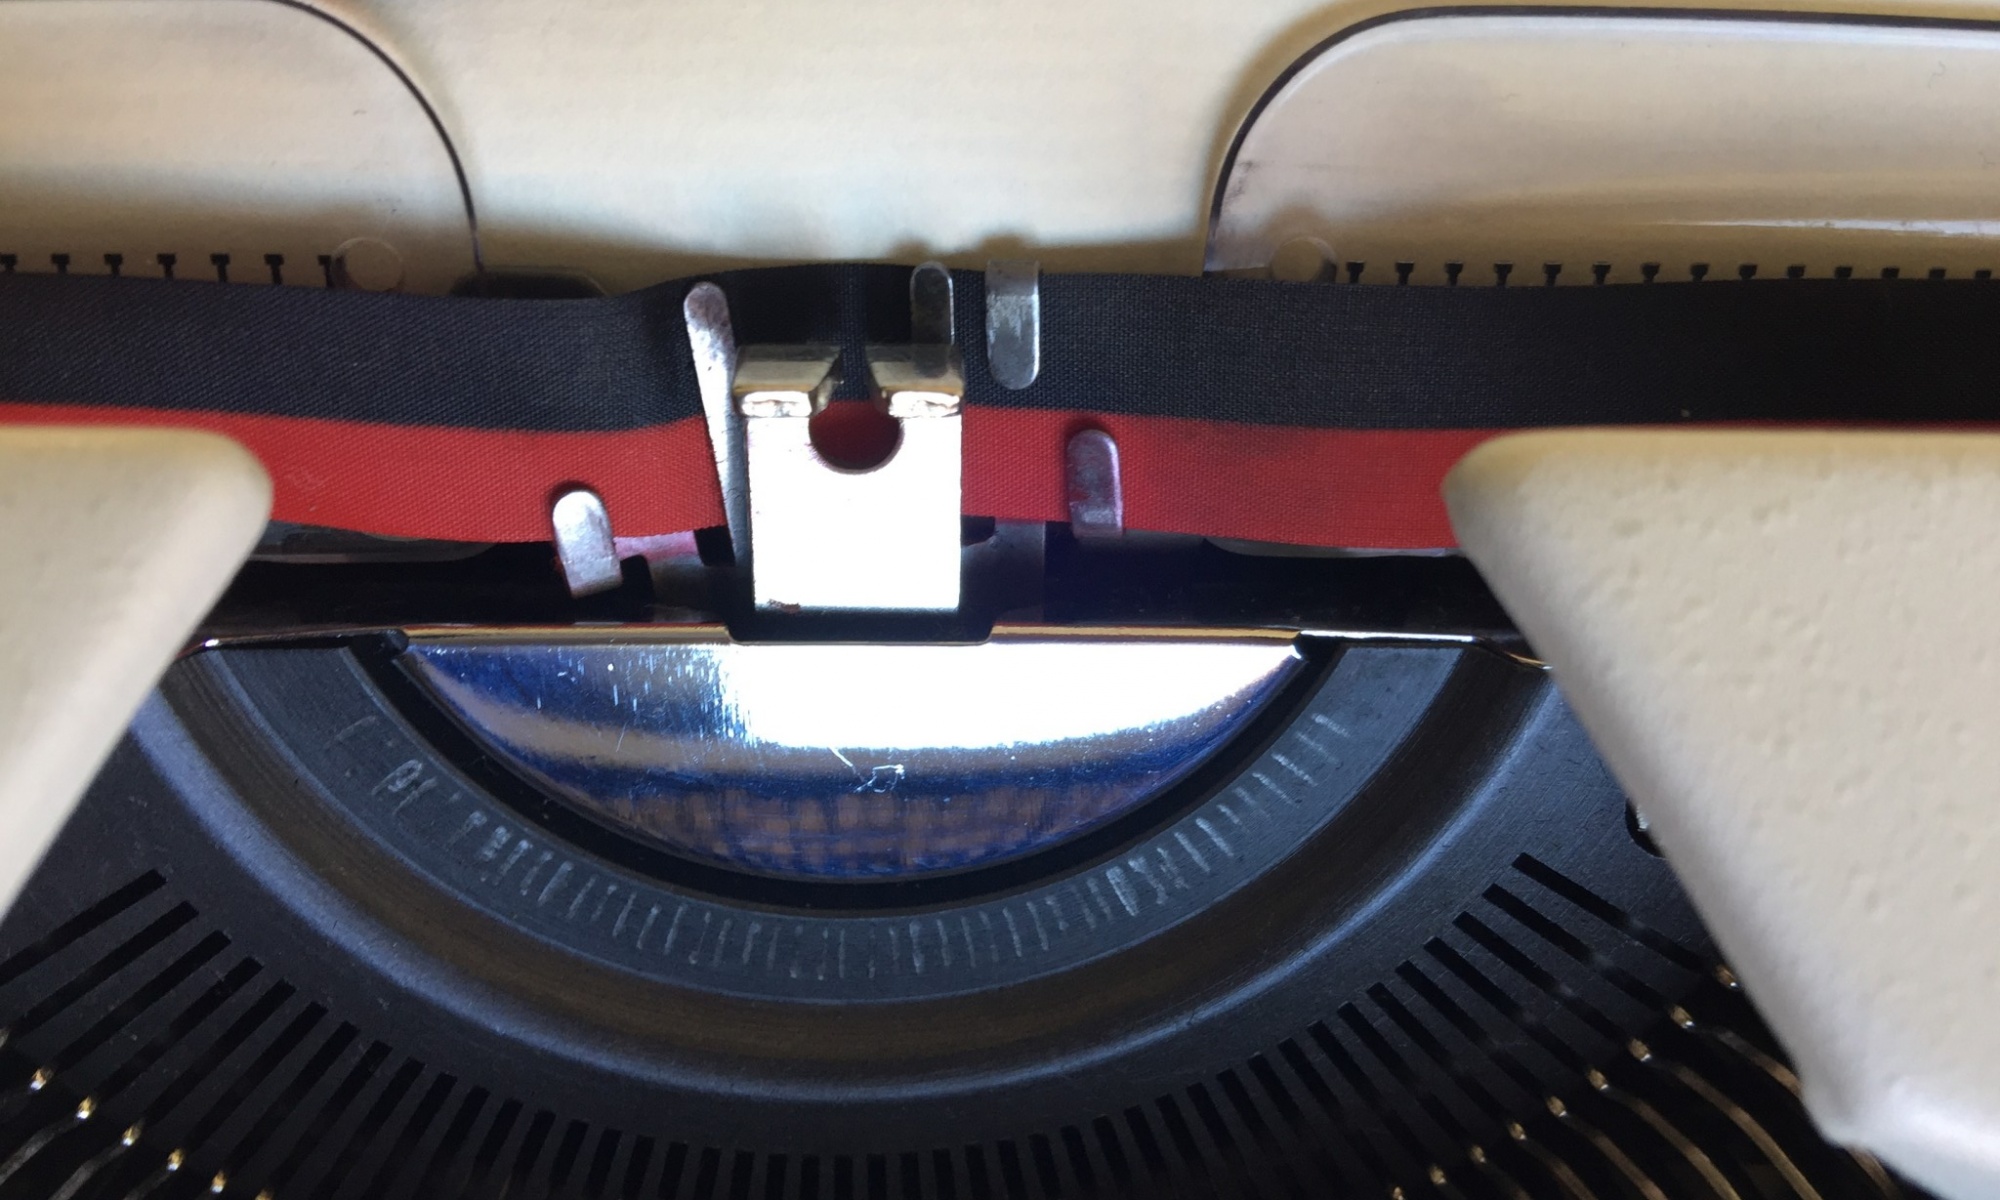
Most ribbons look similar, however there are spool differences and in particular there can be eyelets at either end of the ribbon which signal to your Typewriter to change ribbon feed direction.
To ensure you purchase the correct ribbon for your typewriter, it is suggested that you contact one of the Typewriter supplies featured by downtechinglondon.com. This will not only mean you are sold the correct ribbon, but also you will be supporting fellow enthusiasts and helping keep typing alive.
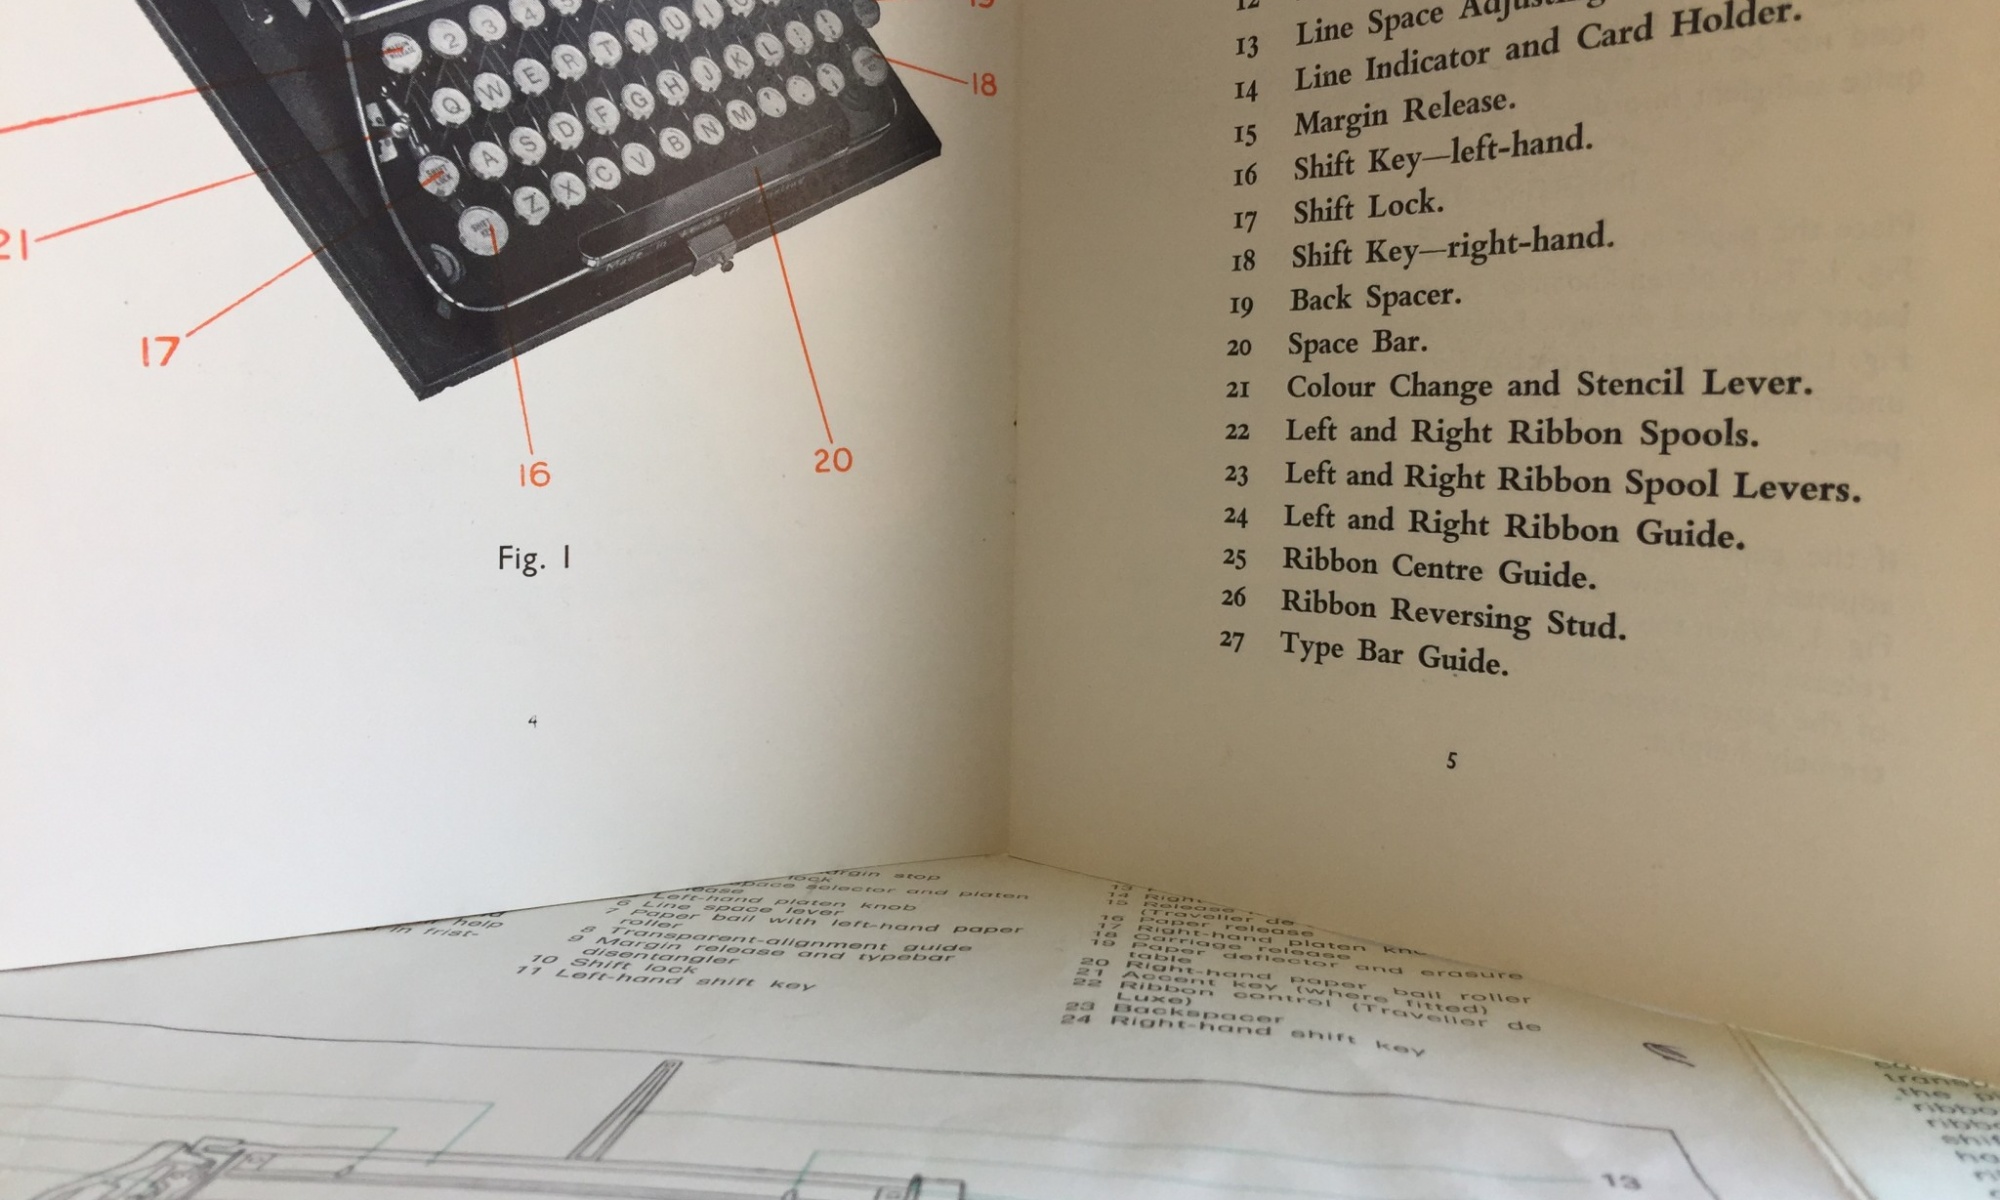
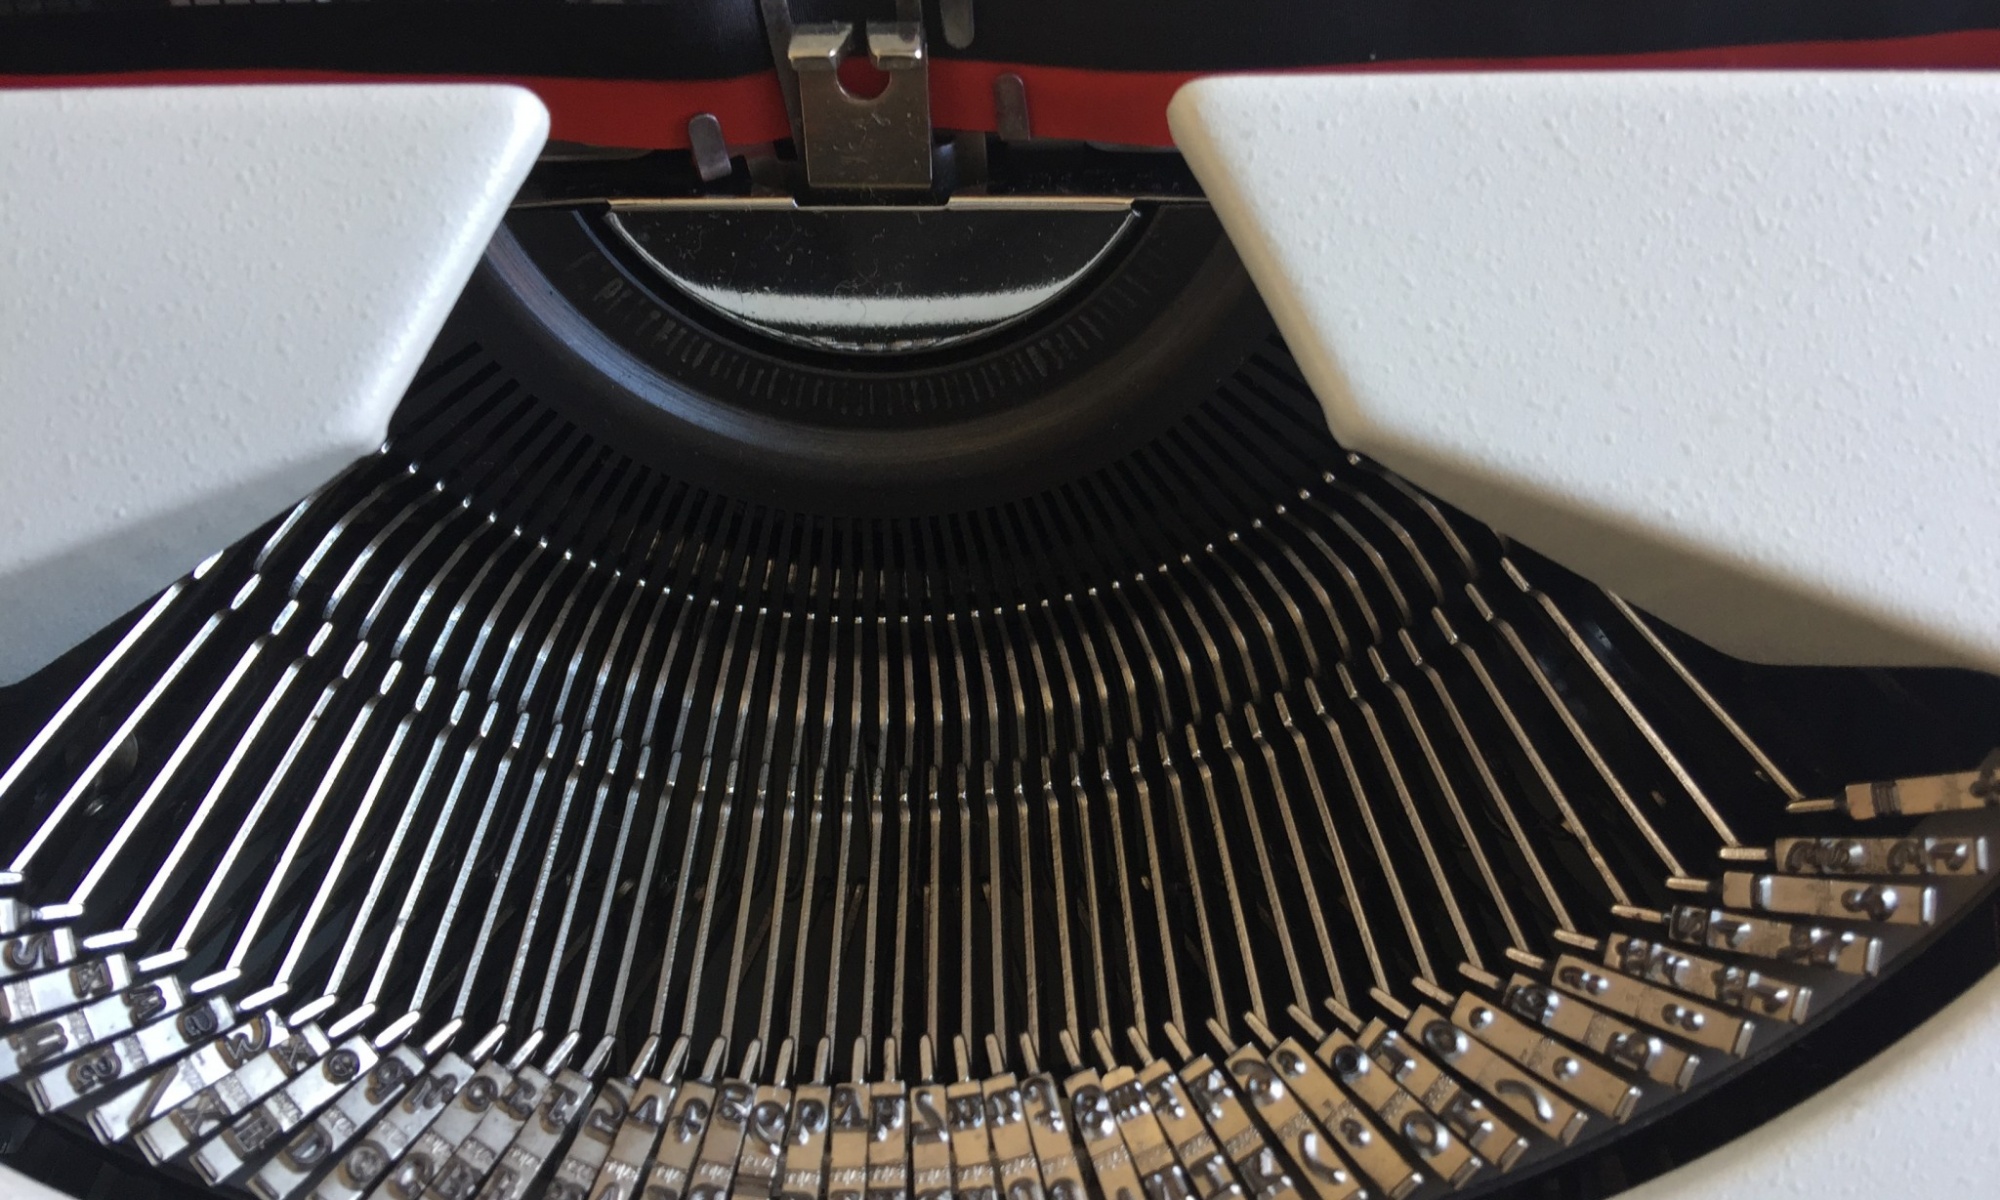
Changing your ribbon for the first time – if you have an instruction manual be careful to follow the details. Feeding the new ribbon into the guides including the ribbon vibrator assembly (the area where the letter hammers hit) is a slight art. There is a YouTube movie – search “how to change a typewriter ribbon Hermes 3000”. This will show you some of the issues, in particular, the trick of setting your machine to red and gently jamming letters g and h to expose the middle section guides.
Ribbons are sold on plastic spools and if your vintage machine has metal spools, you will wish to retain these. New ribbon should be loaded on one of the original spools (a knitting needle can be useful to spin the spool). Again, guidance from an expert is suggested for you first ribbon change.